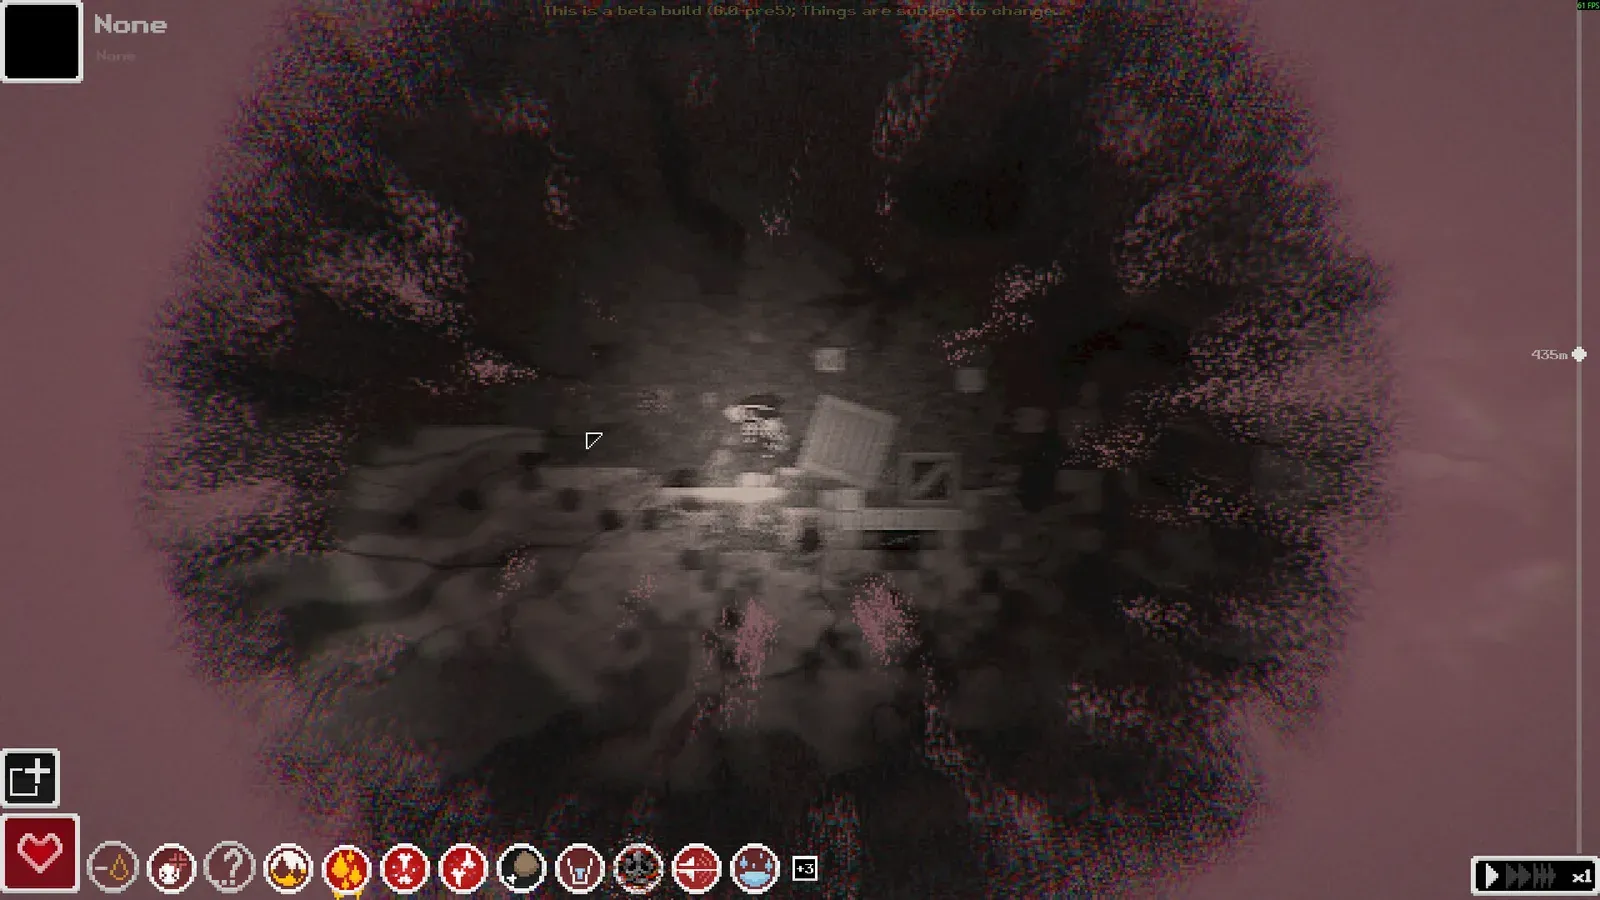
Casualties: Unknown is not a game about winning fights. It is a game about surviving the ones you cannot avoid. Every enemy can remove a limb, and every trap can end a run before the fight starts. The best combat strategy is usually a different route.
The engagement rule
Before you swing, answer three questions:
- Can I leave? If the answer is no, you are not fighting; you are gambling. Keep a retreat route behind you.
- What happens if I take one hit? If a single hit can cause a fracture, heavy bleeding or infection, the fight is not worth the loot.
- Do I need the drop? Most enemies drop crafting materials. If you already have them, walk away.
Fight with a wall at your back so you cannot be surrounded. Keep your light in your off hand or on your belt, not in a container. Aim for the head if the game allows it; otherwise, hit and reposition. The enemy attack cooldown is your window, not your invitation to trade hits.
Enemy types and stun
There are three enemy categories: spider-like creatures that climb background walls, humanoid survivors that become hostile at low reputation, and stationary plants that grab and slam you.
Spider-like enemies have a stun multiplier. Each hit adds damage × multiplier to a stun timer:
| Enemy | Stun multiplier | 50 damage stuns for |
|---|---|---|
| Cave Tick | 0.2 | 10 seconds |
| Shade Crawler | 0.05 | 2.5 seconds |
| Thornback | 0.02 | 1 second |
| Sand Stalker | 0.015 | 0.75 seconds |
| Snow Strider | 0.005 | 0.25 seconds |
| Elder Thornback | 0.0005 | 0.025 seconds |
Stun is a tool, not a strategy. Against a Sand Stalker or Thornback, a 50-damage hit buys less than a second. Use that second to reposition, not to start a combo.
Enemy index
| Enemy | Where | What it does | Counter |
|---|---|---|---|
| Shade Crawler | Layers 1-3, 5 | Venom, bleeding, infection chance. Slow and cowardly. | Sidestep the lunge; a light source makes it visible. |
| Cave Tick | Layers 2, 5 | Swarms of 16. Small bites that add venom and bleeding. | Drop a heavy item in their path; they die on contact. |
| Sand Stalker | Layers 3, 5 | Fast, aggressive, 20% infection chance and heavy bleeding. | Wall behind you, long-range blade, do not trade hits. |
| Thornback | Layer 5 | Fast digger, heavy bleeding, 1.5s attack cooldown. | Strike after the lunge; keep moving; avoid loose-item throws. |
| Elder Thornback | Layer 5 | Dismembers a limb, 1.5 L/m bleeding, 100 pain. | Run. Do not engage without a full kit and an escape route. |
| Tentacle Plant | Layer 5 | Grabs and slams; impact damage and ragdoll. | Stay 3.2+ tiles from the tip and cut the base. |
The full bestiary includes damage values, drops, secondary threats and the pre-release enemies for layers 6-9.
Trap protocol
Traps are more consistent than enemies because they follow rules. Learn the rules once and they stop being surprises.
- Spike Trap: blinks red, fires once. Throw any item onto it to discharge it, then break the tile beneath.
- Bear Trap: cannot be disarmed with items. Break the tile under it or jump over it. A hit can fracture and lock you in place.
- Landmine: explodes after 0.8 seconds. Trigger it from range and wait. Do not melee it.
- Turret: beeps before firing. Break line of sight during the beep. Never cross a sensor line with low health.
- Sound Cannon: charges for five seconds. Hide during the charge. Do not fight it while submerged.
- Coil: electric shock sets consciousness to 0. Mine it with a tool in your main hand.
- Jump Pad: launches you upward. Jump over it, break it, or drop a heavy container on it.
Weapons and DPS
Damage per second matters less than reach, stun and condition. A fast weapon that forces you into lunge range is worse than a slower weapon that keeps you outside it.
| Weapon | Enemy damage | Cooldown | DPS | Range |
|---|---|---|---|---|
| Bare hands | 30 | 0.7 s | ≈43 | 4.5 tiles |
| Claw Pack | 35 | 0.47 s | ≈74 | 5 tiles |
| Machete | 50 | 0.8 s | ≈63 | 5.75 tiles |
| Makeshift Digging Tool | 32 | 1.15 s | ≈28 | 5.2 tiles |
The Claw Pack has the best sustained DPS but the shortest reach. The Machete trades DPS for range and also carries 200 Cutting quality for crafting and amputation. Bare hands are a legitimate early weapon: they cost no condition except claw health, and they regrow.
Armor reduces skin and muscle damage, but not every effect. Venom, infection, pain and bleeding can still apply. Protection is limb-specific; check the item database for which slots a wearable covers.
The Elder Thornback
Three Elder Thornbacks spawn in every Overgrown Depths. They are slower than the player, but they can dig through terrain and will catch anyone who stops to fight or mine. A hit dismembers a random limb, causes 1.5 L/m bleeding and 100 pain. If disfigurement is enabled and the hit cannot take a limb, it can blind you.
The correct response is to leave. If you must fight, do it with a full medical kit, a tourniquet already on the limb you expect to lose, and a route that does not require climbing. The loot is excellent, but the risk is a run-ending injury even if you survive.
The escape toolkit
- Light: a Glowplant Fruit or Lantern in the off hand. You cannot dodge what you cannot see.
- Mobility: a Jetpack or a safe wall-jump route. The Jetpack is unreliable when wet.
- Pain control: a Combat Pen or painkillers to keep consciousness up long enough to leave.
- Bleeding control: a Tourniquet. It buys the time to reach a safe room.
- A throwable: junk to trigger traps, distract enemies or test a drop.
The best fight is the one you never start. If you want to know which enemies are worth engaging, the Overgrown Depths page lists the layer’s full threat set and the loot that justifies the risk.