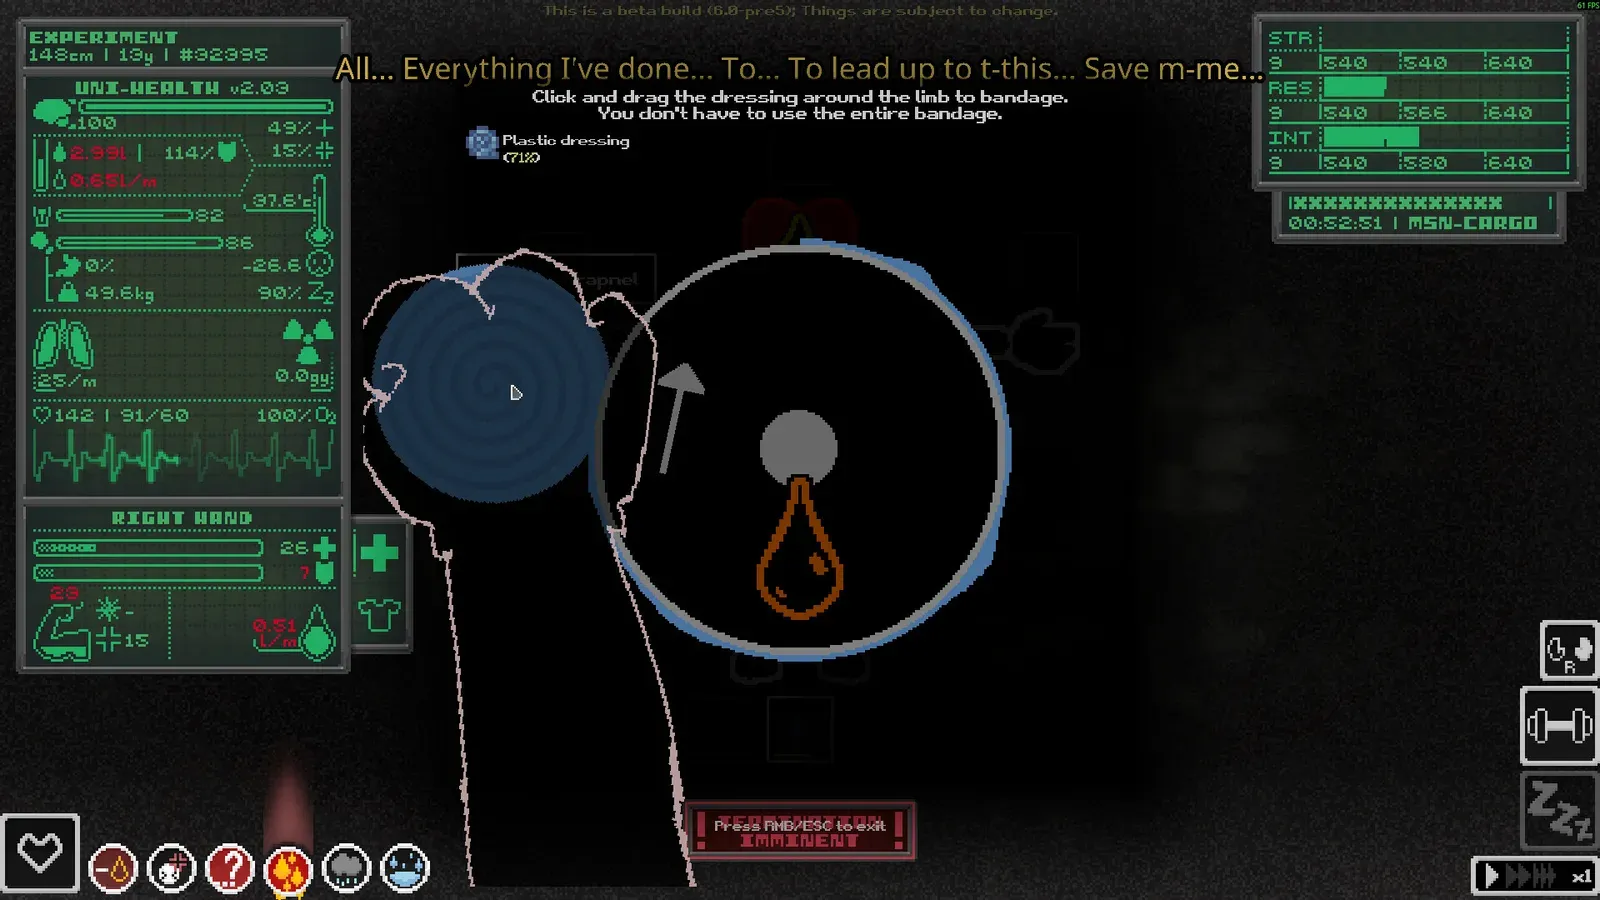
Combat gets the clips, but most runs die to a meter. You get hungry, then slow, then cold, then depressed, then you cannot use the bandage that would have saved you. This guide covers the slow variables and the order to fix them.
The five meters
| Meter | Normal rate | What it ruins first | Fix |
|---|---|---|---|
| Hunger (satiation) | -1 every 23 s | Mobility, healing, insulation | Cooked food, Nutrient Bars, Geofruit |
| Thirst (hydration) | -1 every 17 s | Consciousness, temperature, mood | Clean water, boiled groundwater, Aquapples |
| Energy | -0.07/s (≈23m 48s) | Consciousness below 35% | Sleep, stimulants, Energized effects |
| Mood | Moves toward 0 | Movement, item use, Last Stand | Food, comfort items, avoiding corpses |
| Temperature | Drifts toward ambient | Consciousness, heart, healing | Insulation, heat sources, cooling items |
None of these kill you quickly on their own. They kill you by making the next injury harder to treat. A hungry, thirsty, depressed character with 30% consciousness is not going to win a fight with a Sand Stalker.
Food and body mass
Satiation is not just a hunger bar. It affects stamina regeneration, healing and how quickly you recover blood volume. It also changes body mass: eating above your needs adds kilograms, and being underweight or overweight affects insulation and mobility. The bar caps at 125. Every point of overflow adds sickness at 1.2× and can make you vomit.
- Eat perishables first. Geofruit spoils in 12 minutes, cooked meals in under an hour.
- Save Nutrient Bars. Three bites, 12.5 satiation each, no decay. They are the food you carry into an unknown layer.
- Do not eat while filthy. Dirtiness above 75 gives a 10% chance of +8 sickness per bite.
- Cook when you can. A campfire turns raw ingredients into safer, more filling meals and clean water.
- Watch the body mass. Around 50 kg is the baseline; more mass adds insulation but makes you slower and easier to overheat.
Chips and candy are mood food, not meals. A bag of chips gives ten small servings, 0.7 mood each and 3 sickness each. One serving is a useful comfort bump; the whole bag is a stomach ache.
Water and sickness
Clean water is not naturally common. Bottled water exists, but it is heavy and limited. Groundwater is everywhere in the early layers, and drinking it untreated adds an average of 5.5 sickness per drink. Sickness lowers mood, carrying capacity and immunity, and at 95 it instantly infects the abdomen.
- Boil groundwater at a campfire into clean water before filling a Canteen.
- Aquapples from Hydreeds are a quick hydration source, but they perish fast.
- Do not store a drinking container in your main inventory where tile fluids can fill it.
- Sickness naturally decreases at 0.06 per second; Helluce, orange juice and Naltrexone speed it up.
- Radiation, dirty food and injections all add sickness. Read the item description before you drink.
Energy and sleep
Energy does nothing while above 35%. Below that, consciousness starts to fall, and at 0% you are forced to sleep. Sleep is the only real recovery: it speeds time by ×25, restores energy at 0.4/s and slowly moves mood toward zero.
You can only initiate sleep below 35% energy, below 31 total pain and below 80 sickness. The “No sleep restrictions” run setting and items like Sleeping Pills or Naptail bypass those requirements. Naptail also forces sleep, so do not use it while standing on a ledge.
Sleep quality
- Good: Rubber or a Sleeping Bag. 1.25× energy recovery and a short Energized buff.
- Okay: Soil and similar surfaces. Normal recovery.
- Mediocre: 0.85× recovery and you wake at 85% energy.
- Bad: 0.7× recovery, wake at 70%, and a short consciousness cap.
Always sleep before you are unable to move. A forced sleep in a dangerous room is a death sentence. If you cannot find a safe surface, use a life-pod or a sleeping bag; both are worth the inventory slot.
Mood and Last Stand
Mood is a value from -100 to 100. High mood improves movement, trader reputation and the chance of a Last Stand - a one-time revival when you die. Low mood reduces acceleration, causes item use to fail, and below -75 locks most medical items in the health panel.
| Mood | Last Stand chance | Practical effect |
|---|---|---|
| 70+ | 100% | Near-guaranteed second chance. |
| 40 | 75% | Strong buffer. |
| 0 | 20% | Default state; do not rely on it. |
| -20 | 4.9% | Movement slows; item use can fail. |
| -30 or lower | 0% | No Last Stand. Medical lockout comes soon. |
The Last Stand roll uses your mood from 9-10 minutes before death, not your mood at the moment you die. You cannot panic-eat a candy bar and expect a revival. Keep mood high throughout the run.
Mood rises from good food, comfort items, new recipes and safe sleep. It falls from pain, corpses, trauma, darkness, infection and low needs. A Soothing Crystal carried on your back continuously stabilizes mood; keep it out of a container. A plushie can cancel a low-mood event if you are carrying one.
Temperature and insulation
Body temperature starts at 37°C and drifts toward ambient temperature. The rate depends on insulation: high insulation slows the drift in both directions. That is helpful in the Frozen Chasm and dangerous in the Geothermal Vents, where trapped heat can cause hyperthermia.
- Cold: add insulation, stand near heat, drink warm liquids, sleep in a life-pod.
- Heat: remove insulation, drink water, use shade or cooling items, avoid magma.
- Wetness: wet clothing accelerates heat loss. Dry off before sleeping.
- Body mass: higher mass adds insulation but also makes cooling harder.
Each layer has its own ambient curve. The Gravel Lands hover around 15°C, the Dried Desert peaks at 35.6°C, the Wasteland swings from -20.4°C to 38.6°C, and the Frozen Chasm sits near -30°C. Check the layer pages before you pack.
Radiation
Radiation is measured in Gy and caps at 30. It lowers mood, thirst, consciousness, immunity, brain integrity and muscle health. Above 3 Gy the moodle appears and blood volume starts to fall. Above 9 Gy, limbs can become infected at random and internal bleeding can spike. Above 18 Gy, the character is considered dying.
The radiation line enforces the layer time limit. It moves down at 0.45 m/s while you are conscious, faster than you think. Stay ahead of it, avoid radioactive barrels and Spent Fuel, and carry Anti-rad if you plan to cross the Wasteland. Radiation also lowers immunity, so a small wound in a hot zone is much more dangerous than the same wound in Layer 1.
Layer-by-layer priorities
| Layer | Main pressure | Pack this |
|---|---|---|
| Gravel Lands | Learning the systems | Foliage Bag, light, water, one Dressing |
| Deeper Gravel Lands | Darkness and flooding | Two lights, stamina, trap counter |
| Dried Desert | Heat, oil and turrets | Extra water, Rose Light, Splint |
| Wasteland | Radiation and trap density | Anti-rad, antibiotics, spare blood volume |
| Overgrown Depths | Combat and the Elder Thornback | Full medical kit, weapon, escape route |
If you only remember one thing: fix the slow meters before they become injury multipliers. Eat, drink, sleep and keep mood above zero. The cave will provide the emergencies.